|
|
|
|
 |
 |
 |
|
|
Start Adobe After Effects.
Make a new composition. 640*480 29.97fps. 2 seconds long. Name it "main".
Import the picture "shinelogo.psd".
Drag the picture into the comp-window and let it snap to center.
Apply Effect>Trapcode>Shine to the layer.
|
 |
|
First, let's change the colors.
Open the Colorize group. In the Colorize pop-up, select Enlightenment.
This is a 5-color preset, so when selecting it the 5 colors below the pop-up will change and become enabled for tweaking.
Note: If using a multicolored logotype, and the desired effect is to let the lightrays pick up the colors of the logo, then use Colorize None.
|
 |
|
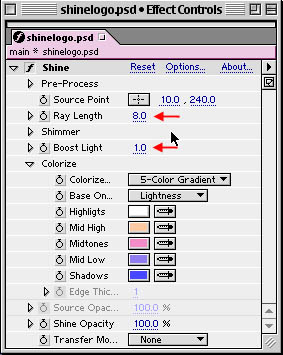
To make the rays a bit longer, increase Ray Lenght to 8.0
To brighten up the image a bit, set Boost Light to 1.0
|
 |
|
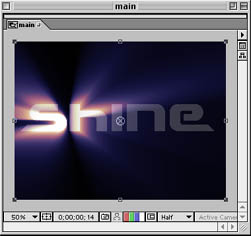
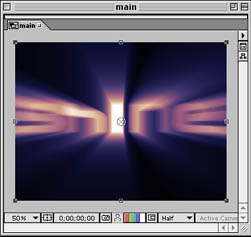
The comp window should look something like this:
|
 |
Now, let's set some keyframes to get things moving.
At the first frame (time 00:00) set a keyframe for Source Point with the value (10,240).
Then go to the end of the comp (time 01:29) and set another keyframe with value (630,240).
Press "RAM Preview" to see the animation.
|

| |

|
| |
|
| |
|
|
|
|
Now, let's try the mask.
Open up the Pre-Process group and check the Use Mask checkbox.
Using the Radius and Feather you can tweak the size and softness of the mask. For this tutorial, simply leave them at the defaults.
Press "RAM Preview" again to see how the mask works.
|
 |
| |
| |
|
| |
|
|
|

|
©2001 Trapcode.
|
|